Geometric sleeve creation process.
- oni

- Apr 20
- 3 min read
Ben came to me with a request for a geometric sleeve tattoo that included a partial cover-up, while also working around some of his older, meaningful tattoos. Projects like this are always interesting because they combine custom tattoo design, problem-solving, and flow across the entire arm.
For large, multi-session projects like this, I prefer to start with a video consultation. It gives us a chance to go over all the details of the full sleeve tattoo project and make sure we’re a good fit as artist and client.
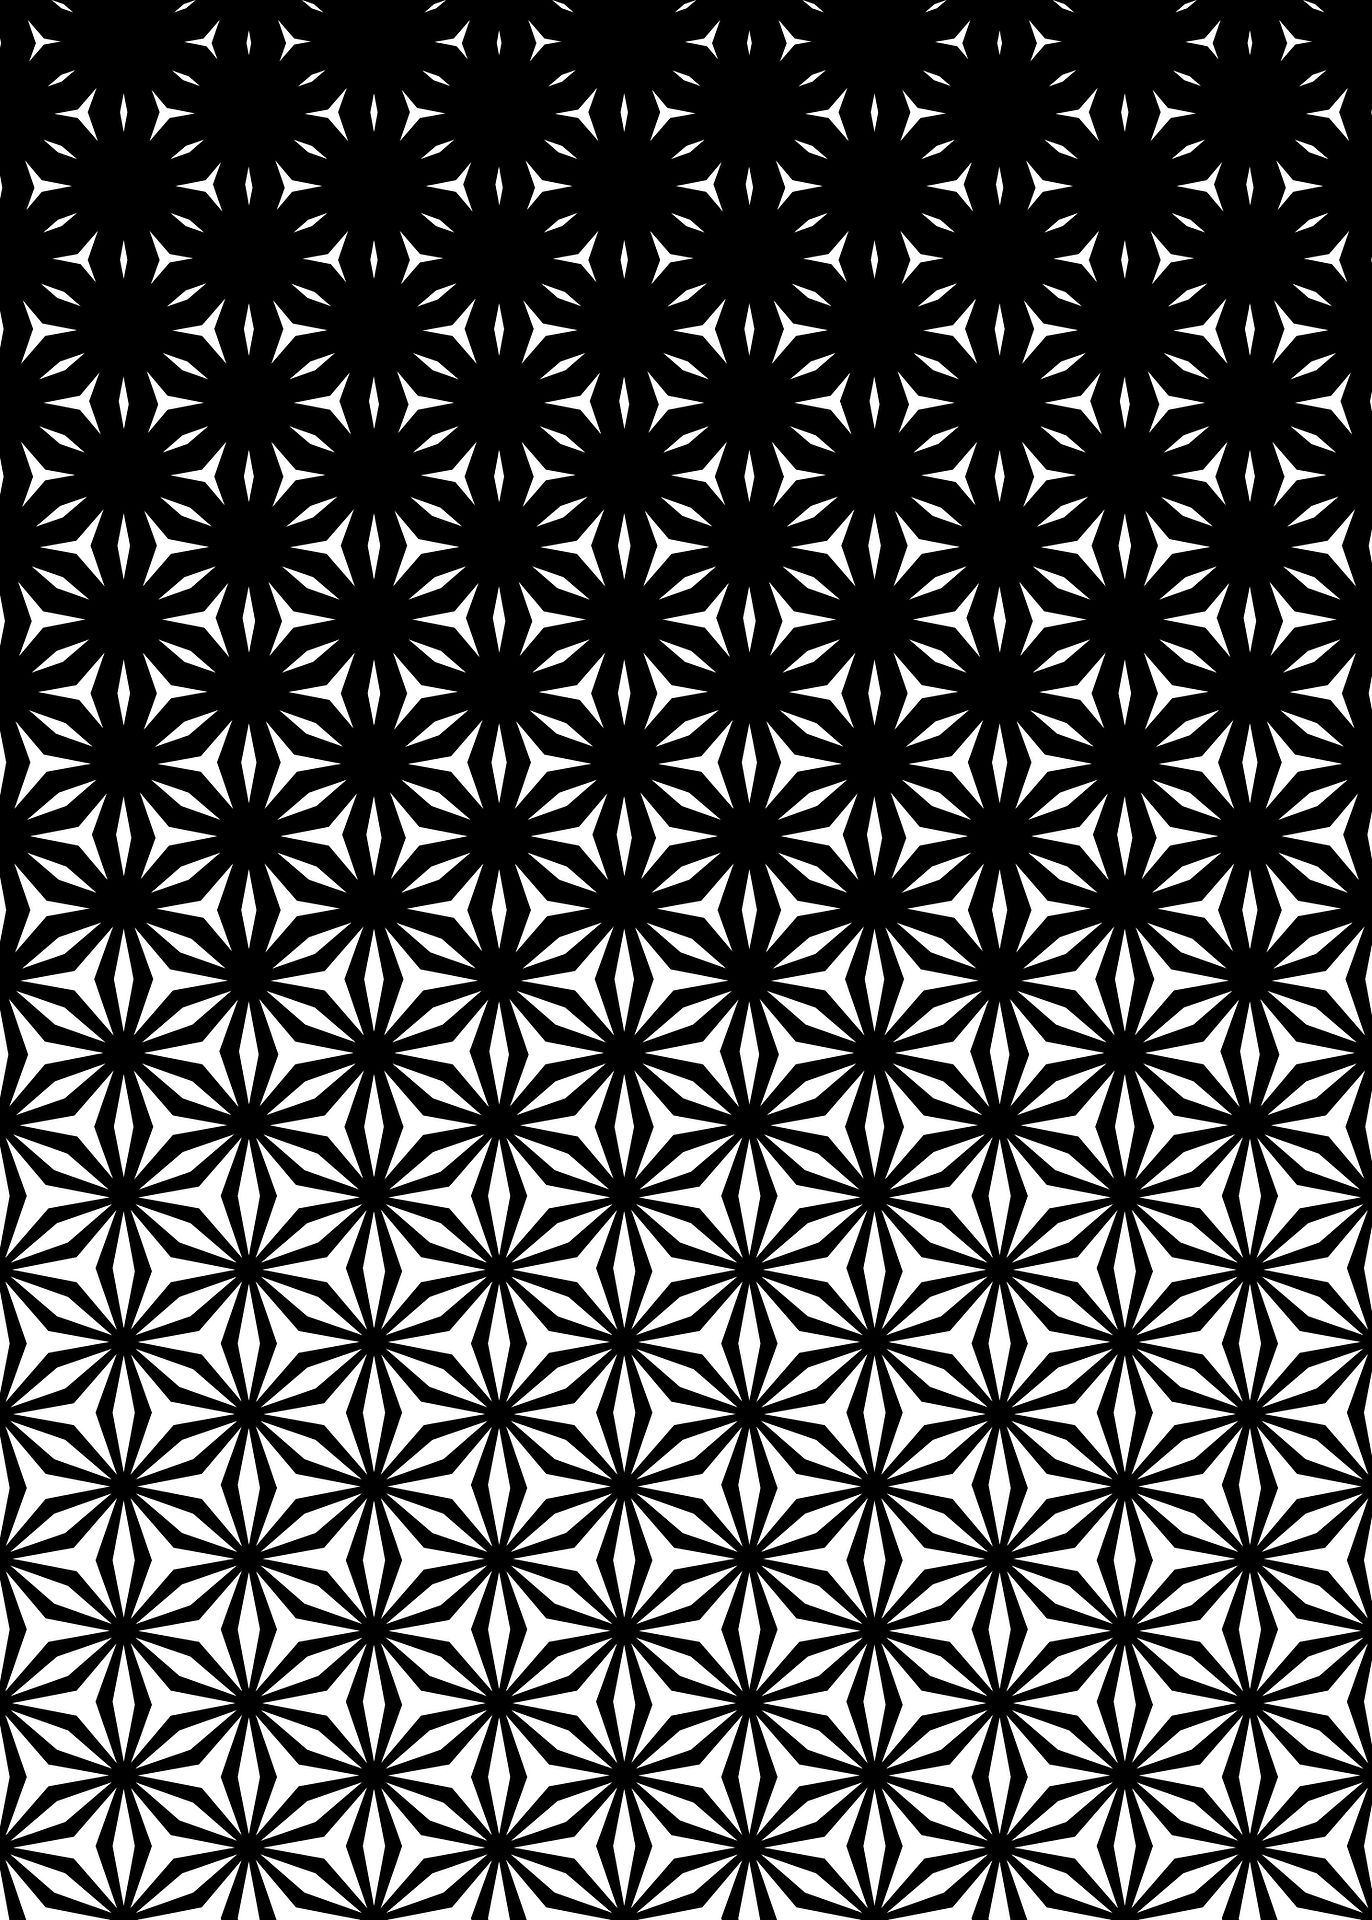
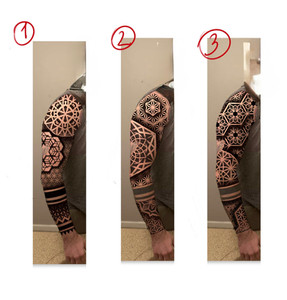
After the consultation, I usually prepare a few quick mockups to showcase my vision and give the client options to choose from. Ben liked the shoulder concept from the third design and the forearm section from the first sketch. Combining elements like this is a big part of building a custom geometric sleeve that fits both the client’s idea and the body.
During the consultation, we also discussed the session schedule. Since he was traveling to me, we decided to work two days back-to-back each time, which is often the most efficient way to approach a large-scale tattoo sleeve


First day – sleeve layout and linework
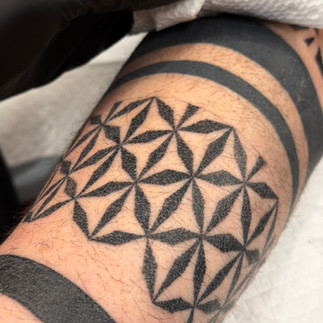
I focused on placing the stencil and freehand drawing a seamless pattern band on the forearm. For geometric tattoo sleeves, getting the flow and placement right at this stage is critical.
By the end of the session, we had most of the sleeve layout done and the main structure lined, so the next day we only had a few smaller elements left to place before starting the pattern work.


Second day
I finished placing the remaining elements of the sleeve and started filling in some of the patterns.


Third and fourth day
After completing the full stencil and structure of the sleeve, I like to draw out a few shading options so we can both see how the final piece will come together. This also gives the client a chance to choose the direction they prefer.
We ended up going with the third shading option.


At this stage, the forearm pattern band had already healed well, and I was able to continue building out a large portion of the patterns. Proper healing between sessions is key for achieving clean, saturated results in blackwork tattooing.


Fifth, sixth, and seventh day – Atlanta Tattoo Convention sessions
These sessions took place during the Atlanta Tattoo Convention. We decided to work throughout the weekend, with the last day being a shorter session — about 3–4 hours — to finish the shading.
Working multiple days in a row is demanding, but it allows us to push progress on a full sleeve tattoo much faster when both the artist and client are prepared for it.


The full sleeve took about six and a half sessions to complete. There’s still a bit of work left — I plan to go over the blackout band on the forearm with white ink to add some pattern details, along with an overall touch-up of the sleeve.
Projects like this are a good example of how a geometric and ornamental tattoo sleeve comes together over multiple sessions — from concept and layout to final saturation and detail work.
Thinking about a full sleeve tattoo?
If you’re considering a geometric sleeve tattoo, blackwork sleeve, or a large custom project, the best place to start is with a consultation. Every sleeve is built specifically for the client, the body, and the idea behind it.

Comments